Adding Members to Your Projects
You can easily add members to your projects in a few simple steps:
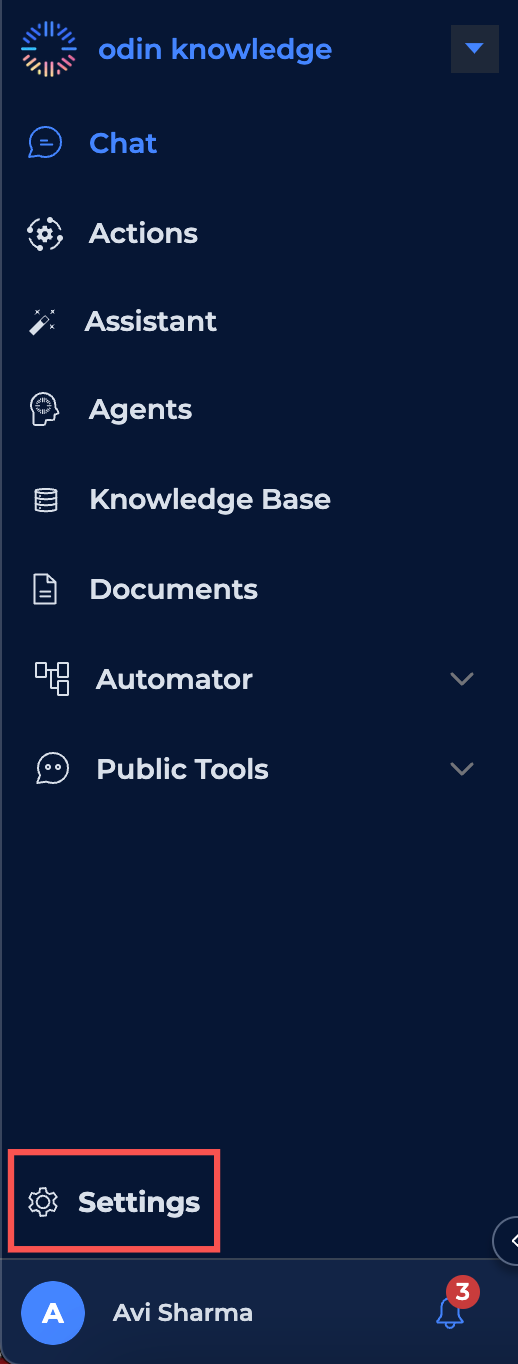
1. Access Project Settings
First, click on your created project to open its details. From there, navigate to the "Settings" section.
2. Manage Members
In the project settings, locate the "Manage Members" button and click on it.

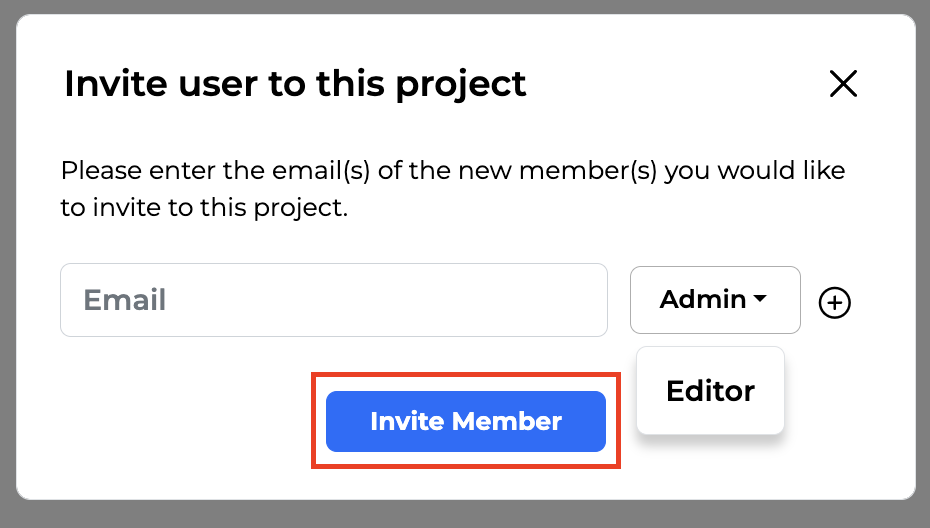
3. Invite Members
Within the "Manage Members" section, you can invite new members by providing their email address. Additionally, you can assign them either "Admin" or "Editor" access.
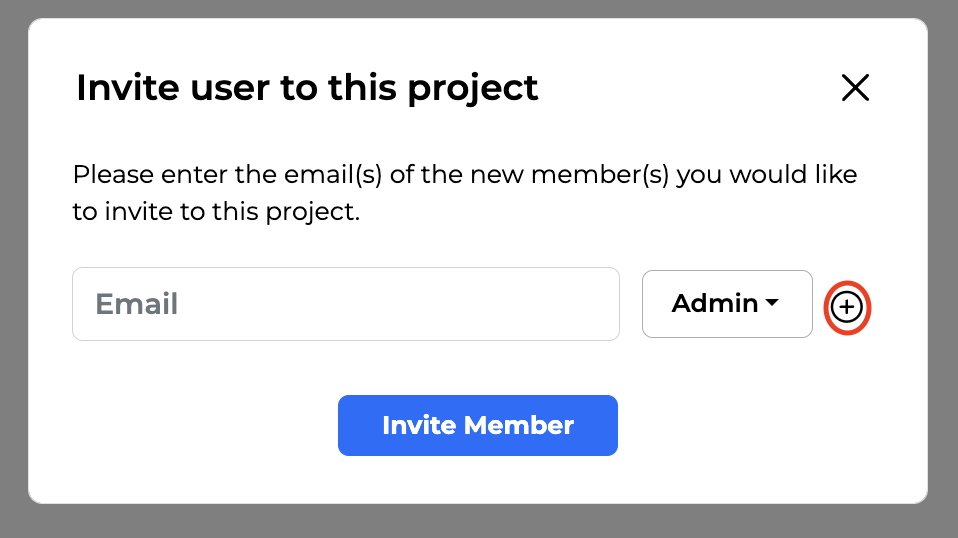
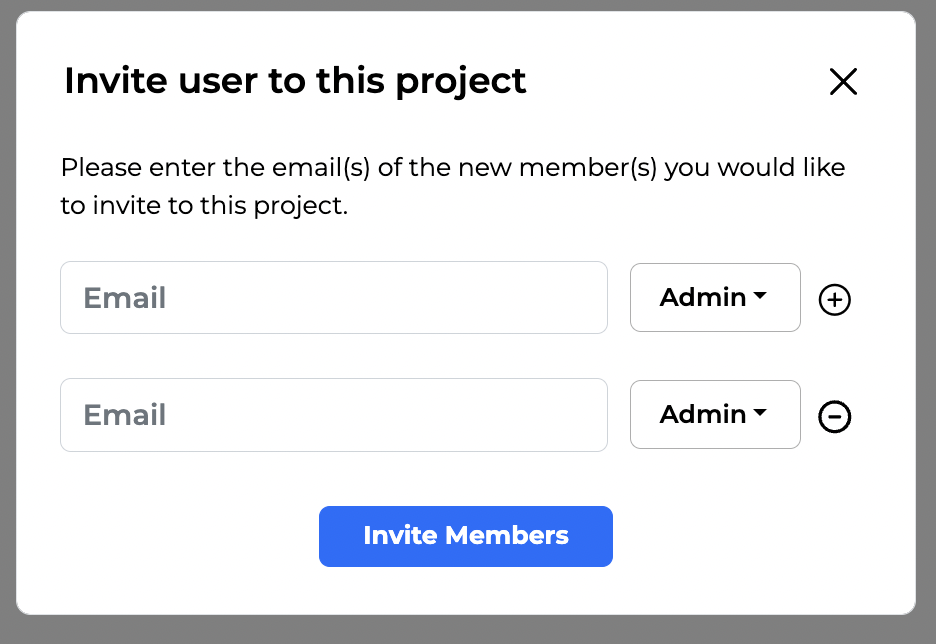
4. Grant Access to Multiple People
You can grant access to multiple people simultaneously by entering multiple email addresses and specifying their roles. By clicking on the "+" button.
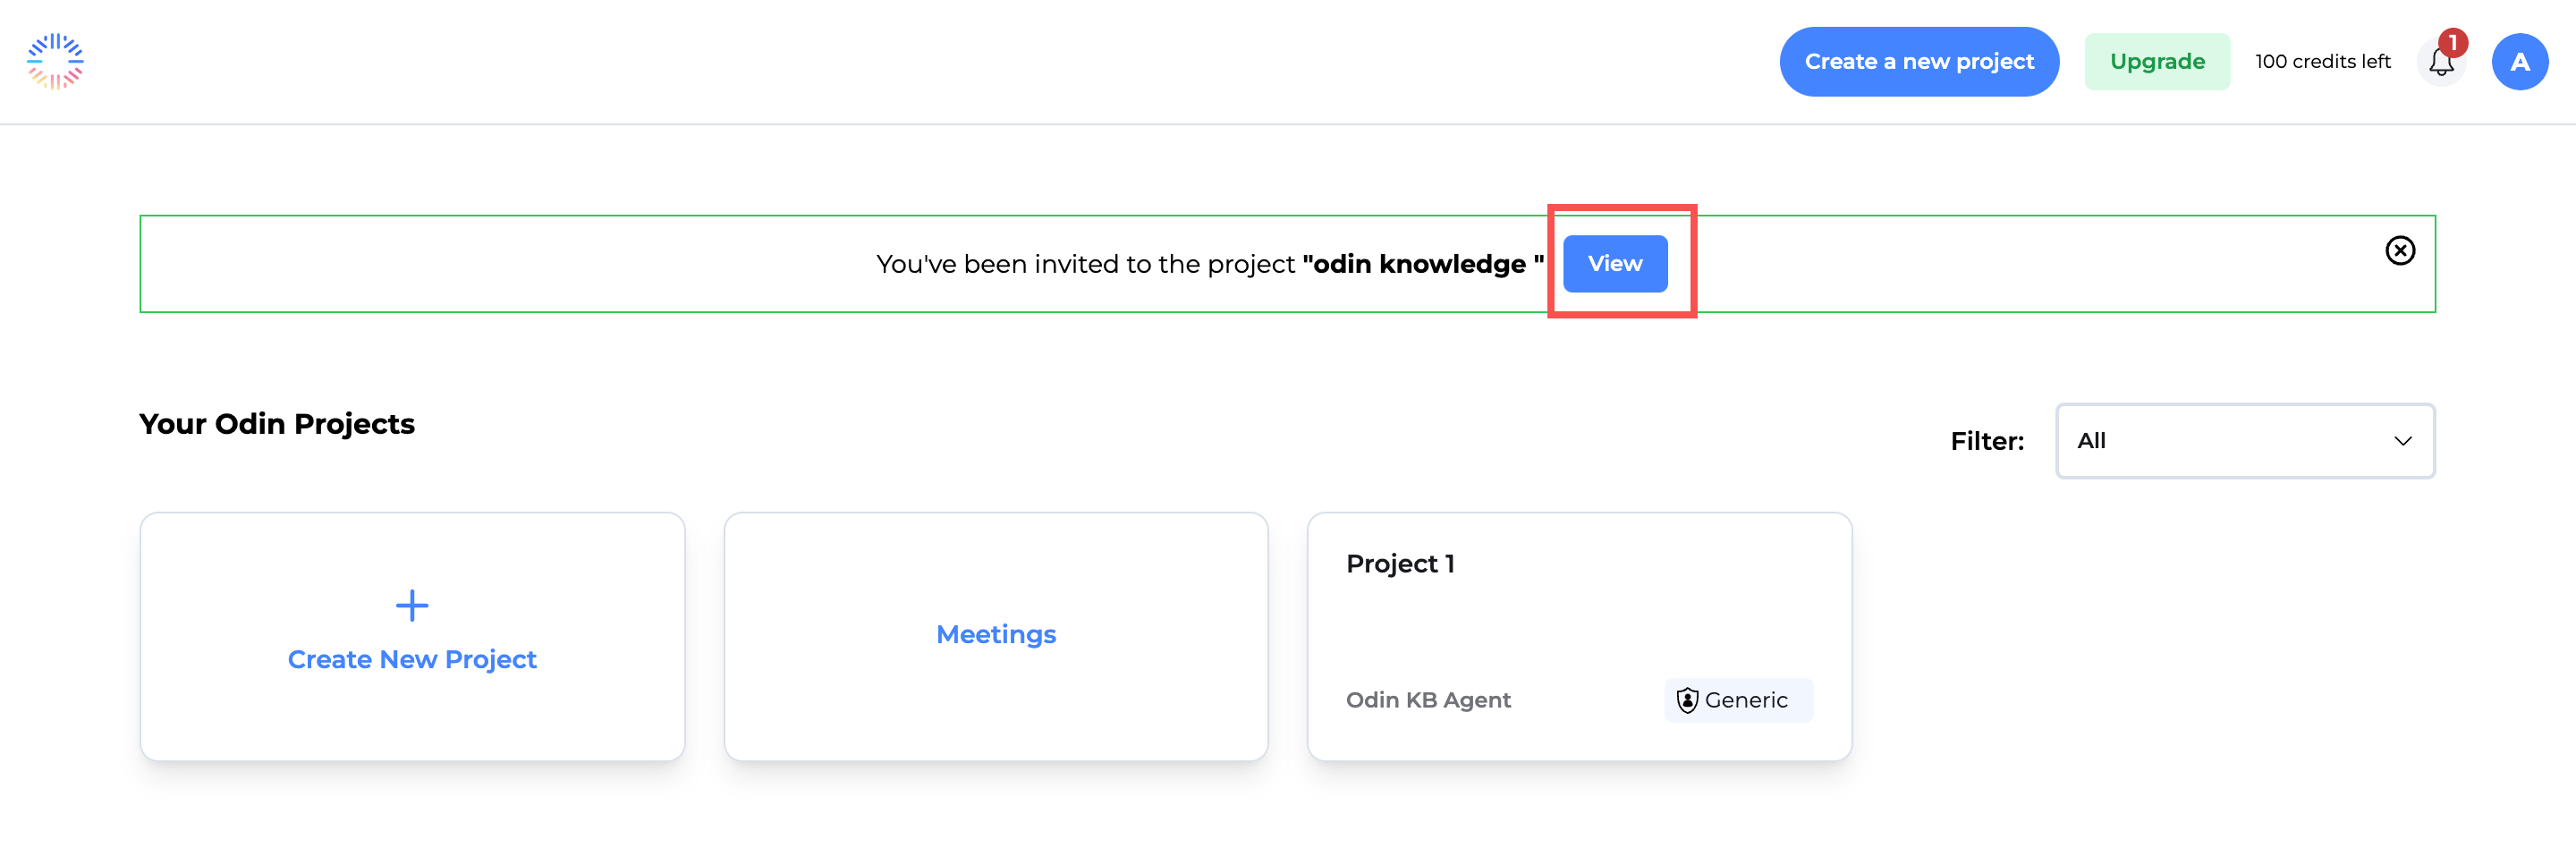
5. Accepting Project Invitations
You also have the option to accept invitations from others. When you receive an invite notification on your Odin account, simply click the "View" button.
This will direct you to a message box where you can join the project by clicking the "Join" button.
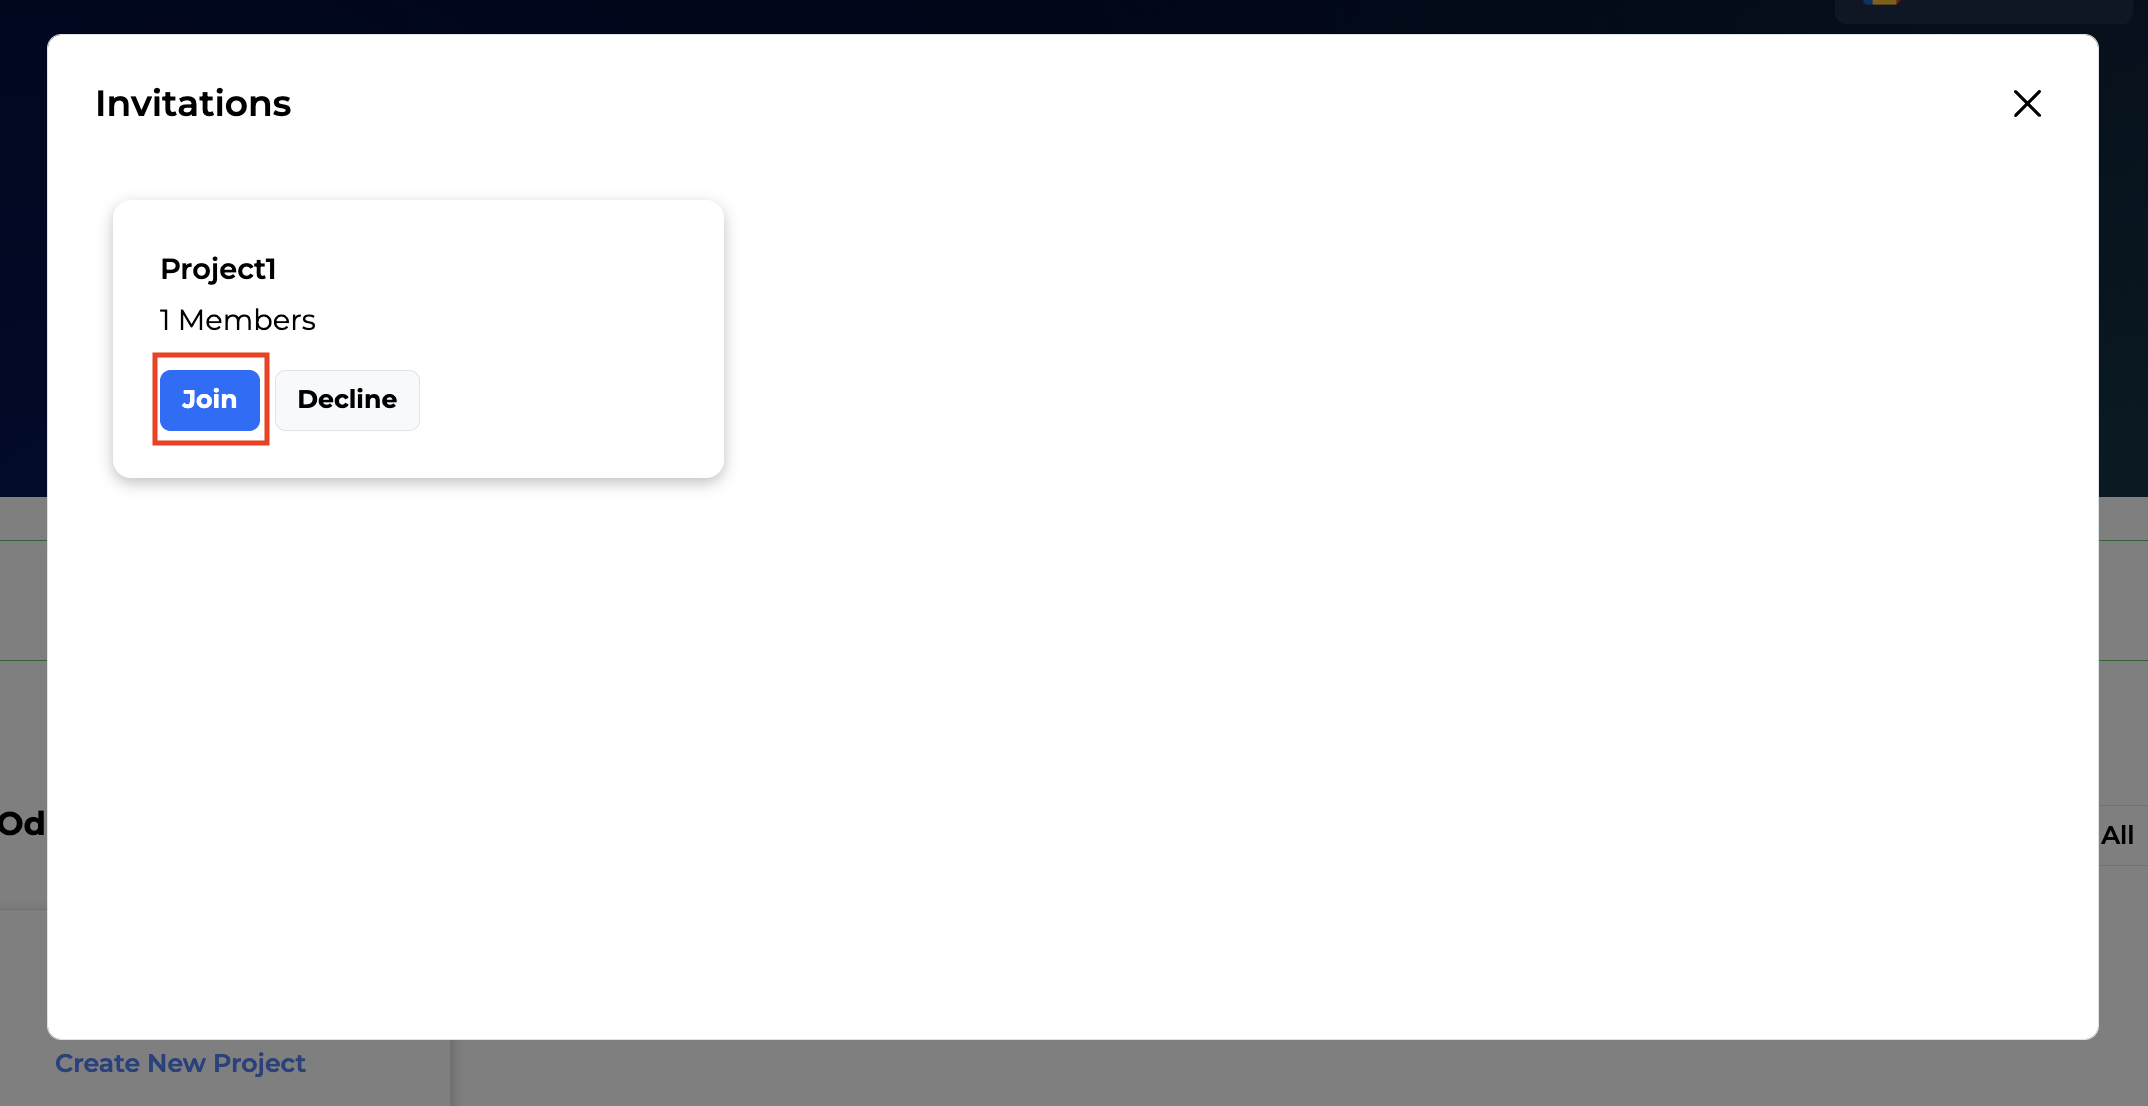
Congratulations! You have successfully added members to your project.